Putting a motor into a model you designed yourself
Motorising your own build is less about the motor and more about what surrounds it. Mounting, gearing and weight decide whether the thing crawls up a ramp or spins its wheels on carpet.
Pick the size by the job
An M motor is a small, quick unit, right for a steering arm, a rotating turret or an accessory. An L motor is the general-purpose choice for a car of moderate weight. An XL motor is slow and strong, and it is the one to reach for when the model is heavy, geared down, or expected to pull something. Putting a big motor in a light model is not a free upgrade — the extra mass has to go somewhere, usually straight over the driven axle, and it changes how the whole chassis sits.
Mount it on the grid, not on a bracket
Power function motors are moulded with standard pin holes in their casings, so they bolt into a technic frame the same way a beam does. Use at least three pins in two planes. A motor held by two pins in a line will rock under torque, and that rocking shows up as gears jumping at exactly the moment you demonstrate the model to somebody.
Gear for the surface, not for the spec sheet
A direct drive looks fast on the bench and is useless on a rug. One reduction stage of three to one turns a nervous model into one that pulls away cleanly and climbs. If you want both, build the reduction so the final gear sits on the wheel axle and leave space to swap that last gear — changing one 24 for one 16 is a two minute job if you planned for it and a rebuild if you did not.
Leave the wiring somewhere you can reach
Battery boxes die, leads get trapped, switches end up buried under a bodywork panel you were proud of. Decide early where the lead leaves the chassis and keep that channel clear. The same goes for the control box: it should come out without dismantling the model, because at some point it will have to.
Parts for this job
Everything else in the collection is in the same ten drawers, a click from here. Fit is the whole point: a technic gear, a cross axle and a friction pin from an ASTEM building set are compatible with LEGO® technic parts down to the tenth of a millimetre. When builders describe the experience of a pack — clean, tight, or fiddly — that customer note goes straight onto the bench.
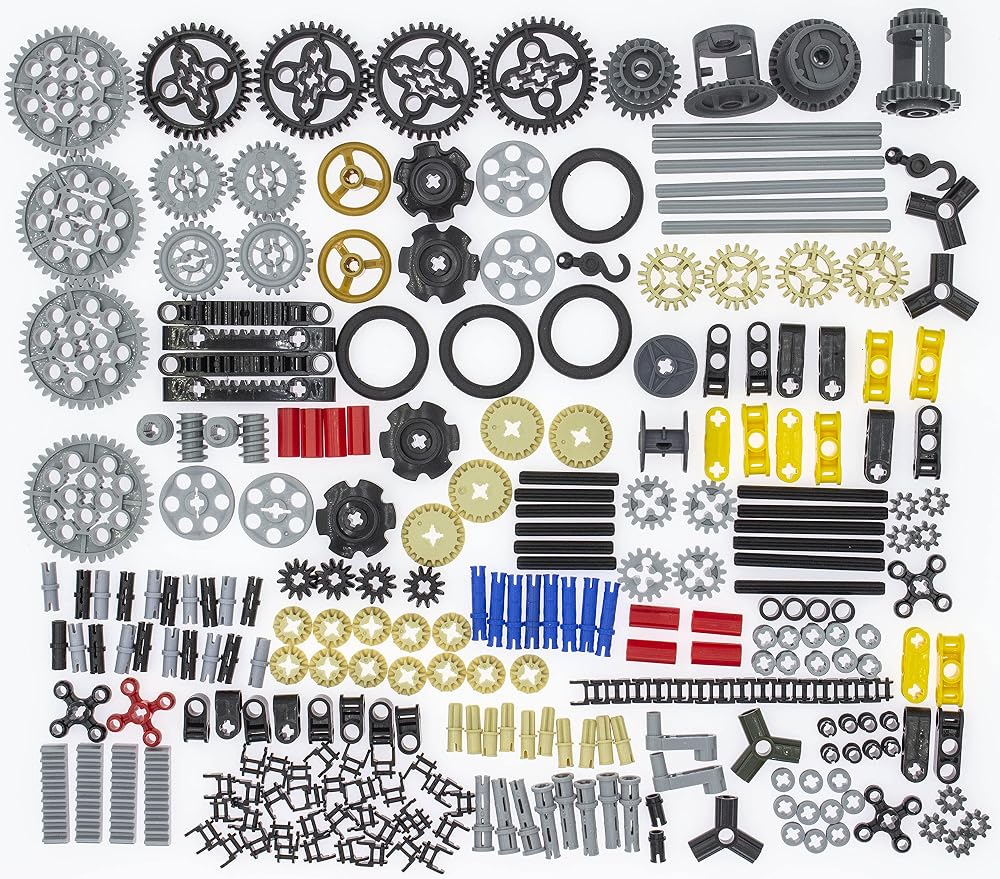 270-Piece Gear, Differential and Rack Set$19.994.6 ★ · 56
 6500-Piece Shaft, Pin and Bolt Assortment$74.904.6 ★ · 30
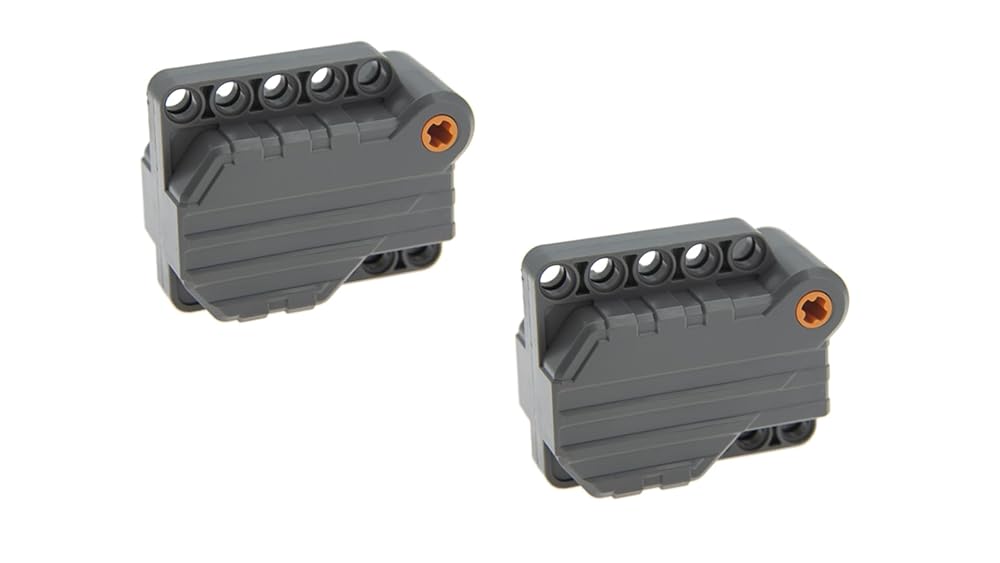 2-Piece Pull-Back Motor Pack$12.994.0 ★ · 21
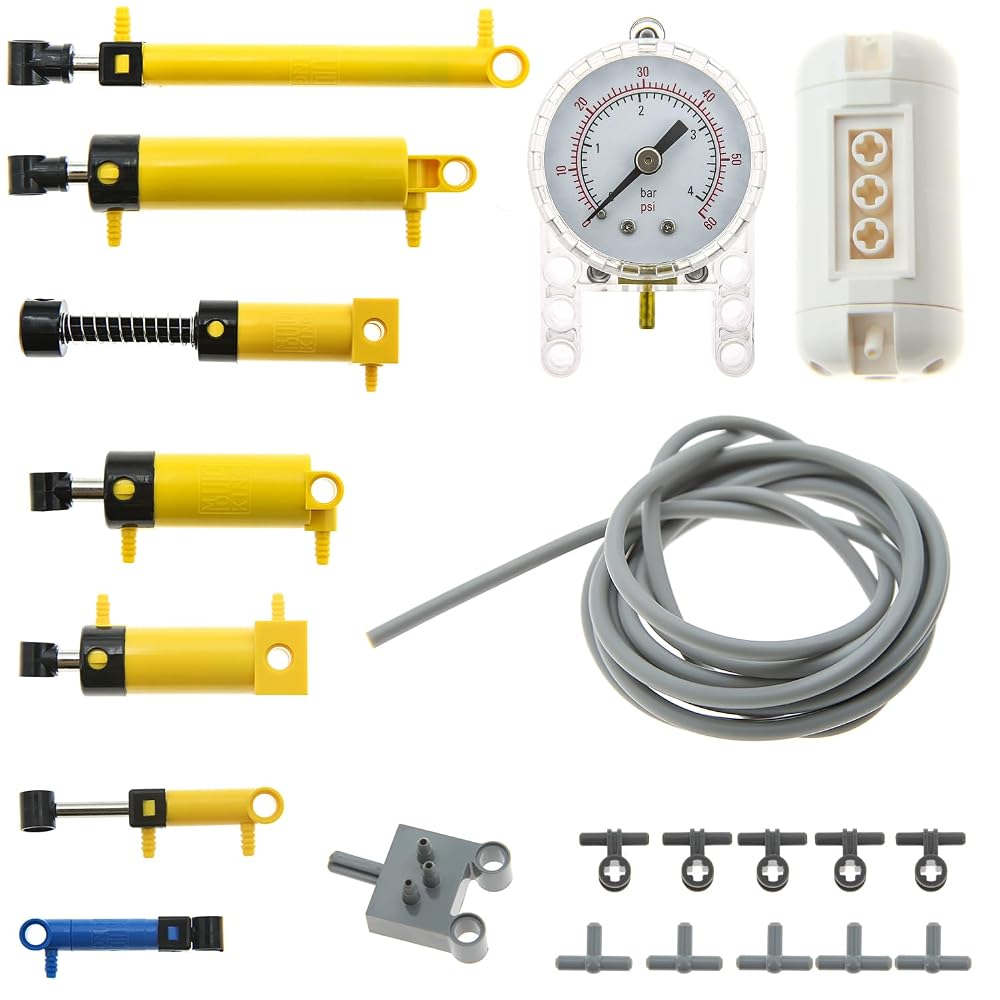 21-Piece Pneumatic Cylinder and Pump Kit$119.805.0 ★ · 3
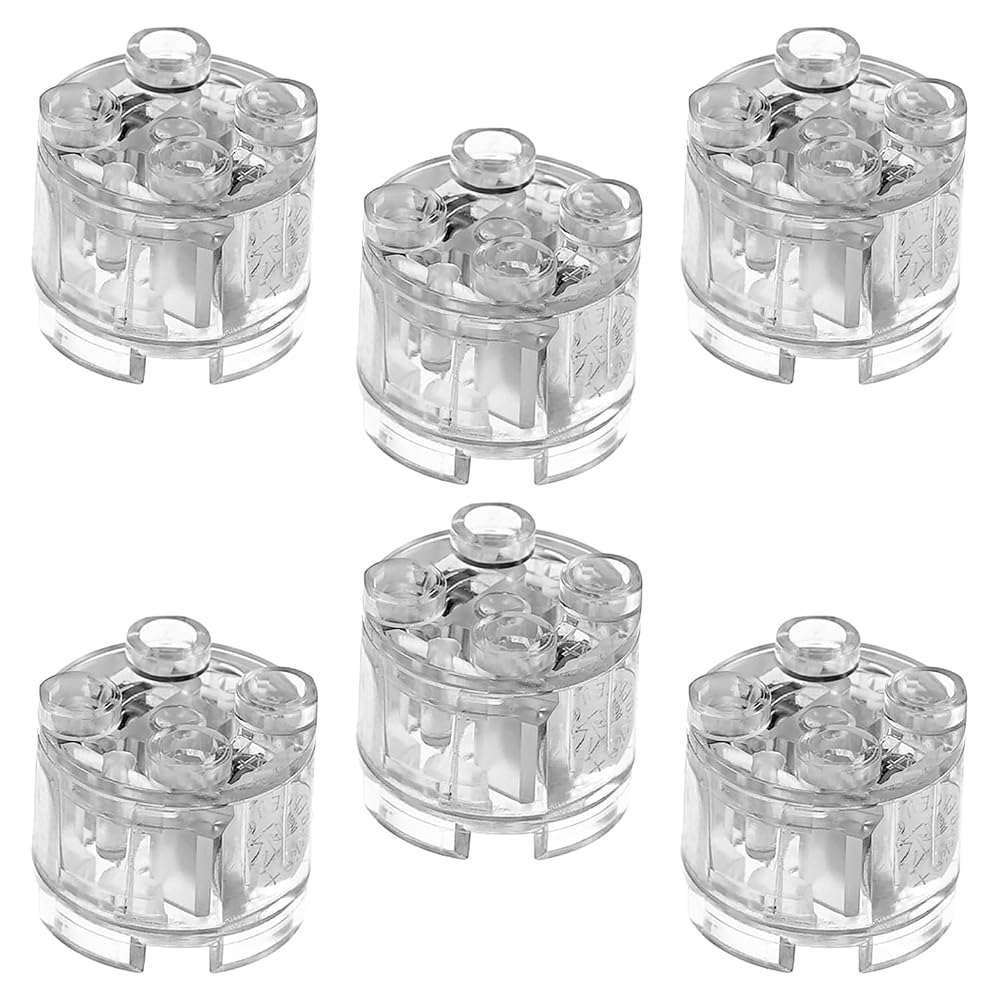 2x2 Light-Up Bricks, Warm Glow, 6 Pieces$10.994.6 ★ · 5
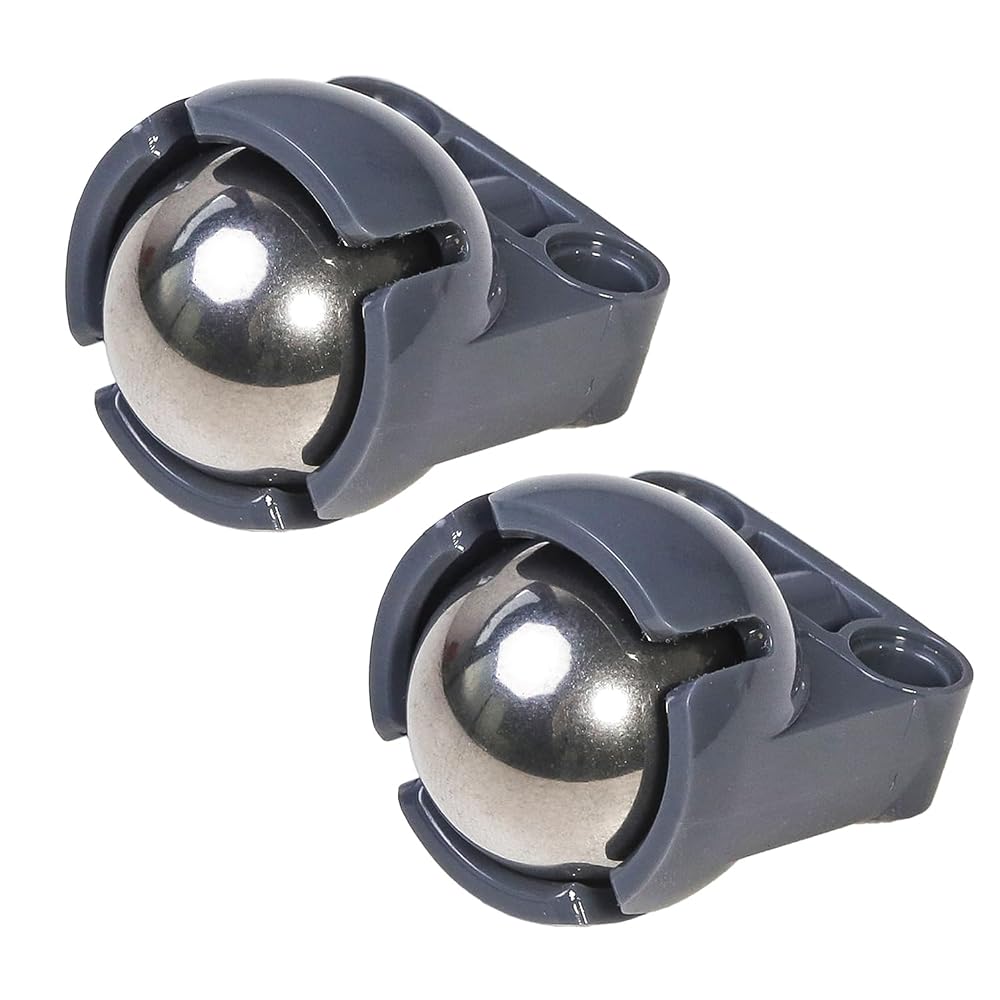 18 mm Steel Ball and Socket Joints, 2 Pieces$9.994.5 ★
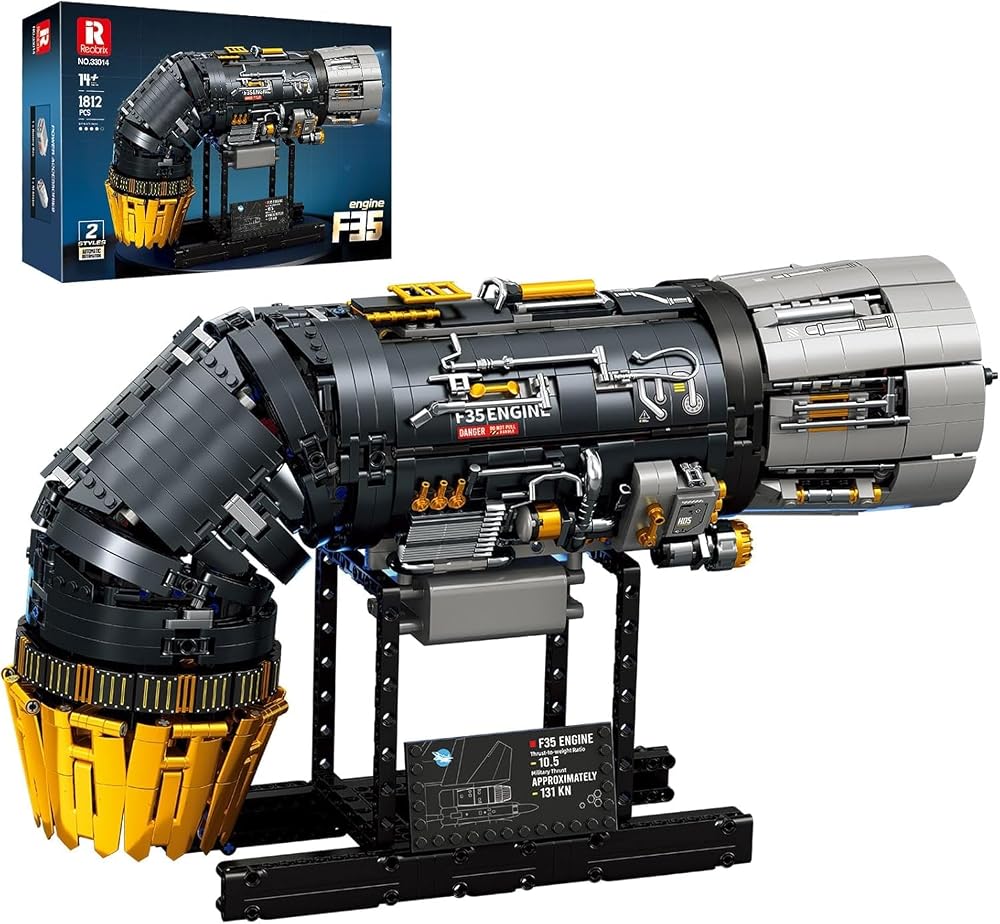 F35B Engine Display Build, 1812 Pieces$99.994.7 ★
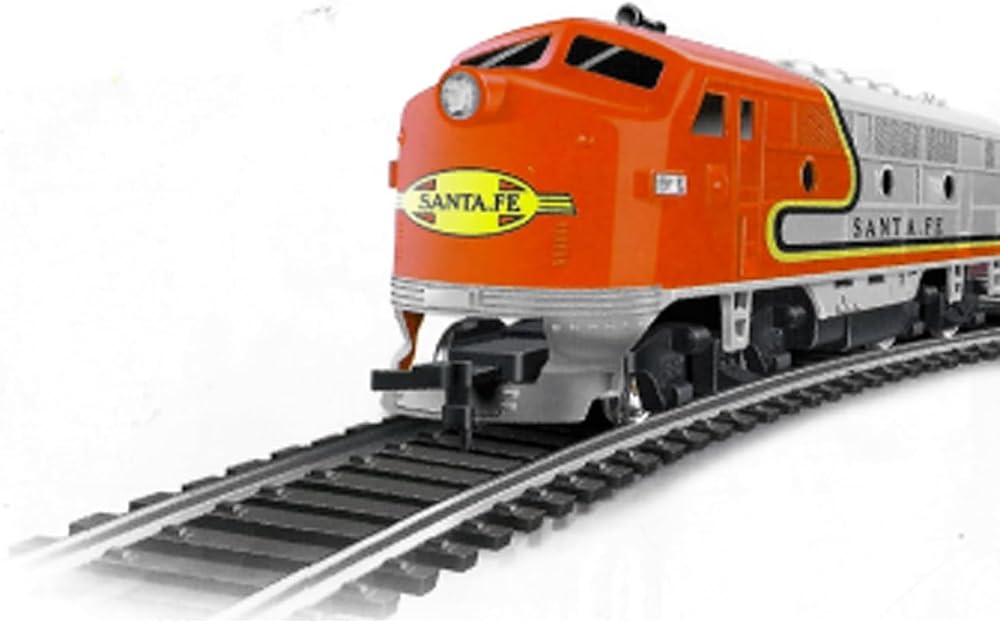 FP7 Warbonnet Bulldog Nose Diesel, 14 V$97.994.4 ★
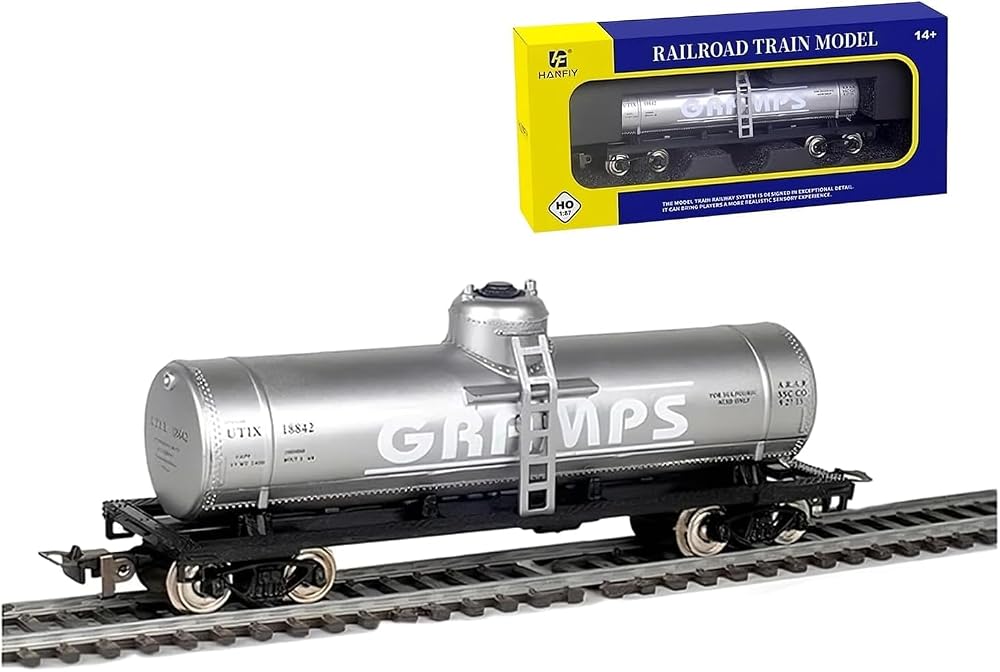 40 ft Silver Oil Tank Car$36.994.4 ★
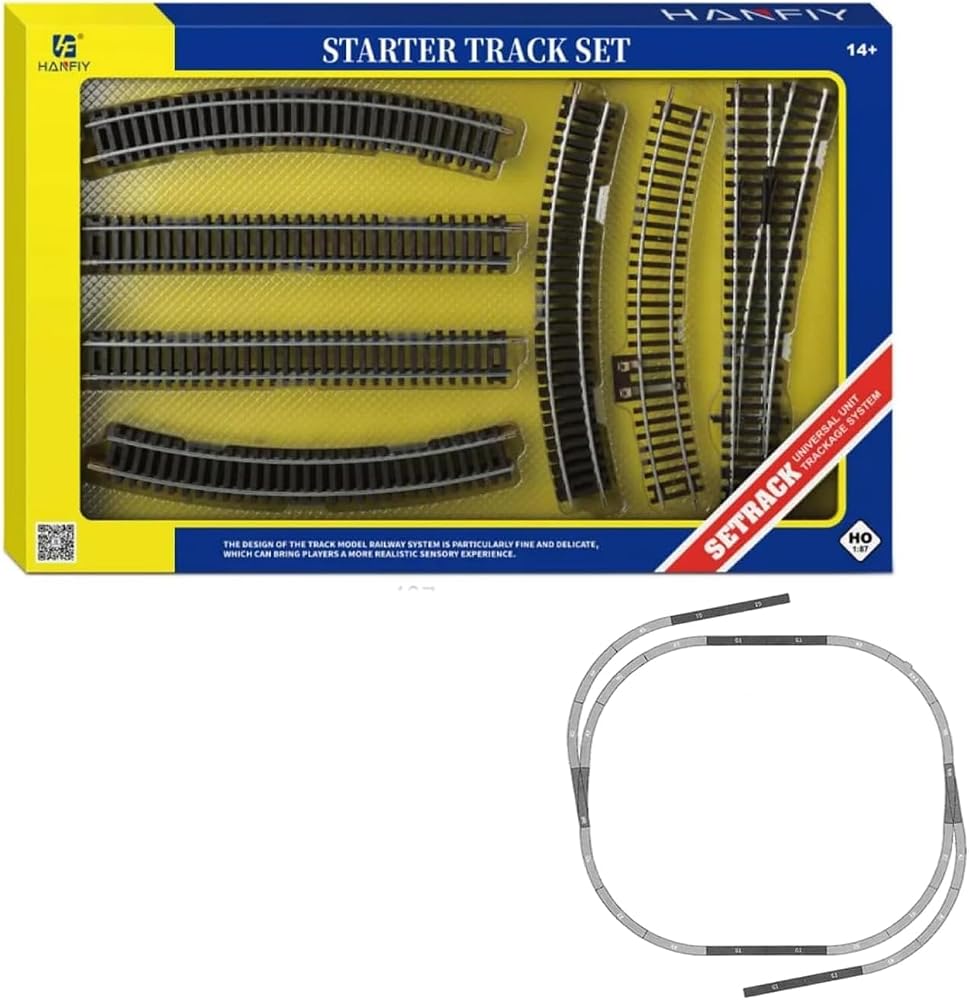 28-Piece Nickel Silver Track Set$76.794.4 ★
Last word
Build the frame, bolt the motor in, then gear it. Doing those three in the other order is how a perfectly good design ends up back in the parts drawer.